DESCRIPTION
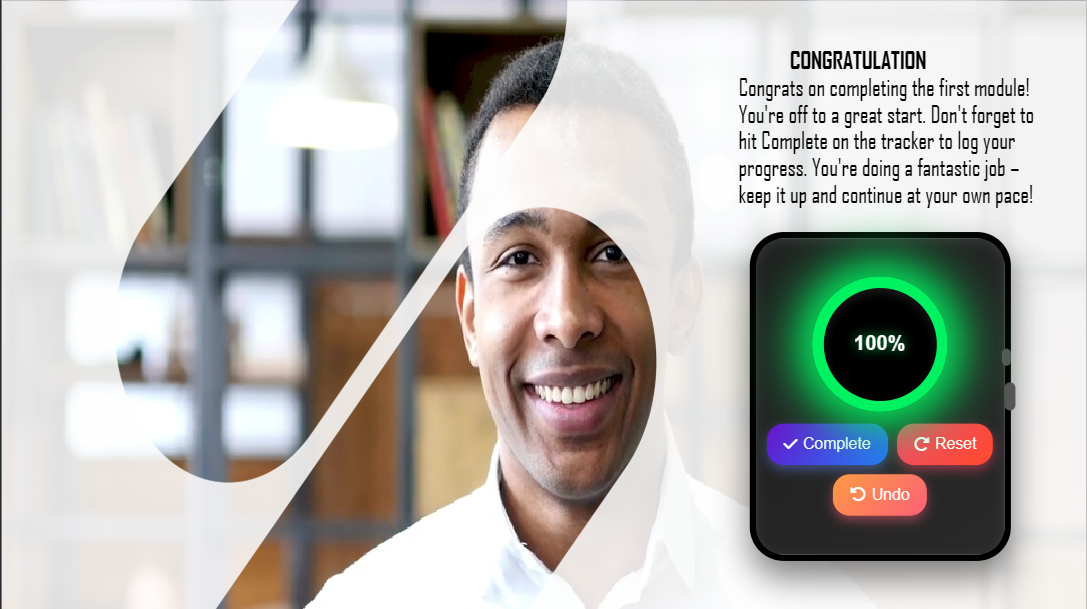
I custom-coded ProgressTracker to help my fellow instructional designers create sleek, self-paced learning experiences. It’s easy to embed in tools like Articulate Storyline and works perfectly at the end of each module, task, or milestone. Learners can log progress with Complete.
ProgressTracker has a transparent background so that it fits perfectly into any design. Place it over a shape or background element to match your course’s color scheme. Progress is saved automatically, so once you embed it on a progress page, you can copy and paste it anywhere in your course. Learners’ progress stays up-to-date across pages. No worries about losing data! You have to trigger completion for it to work. Scroll down to see a step-by-step guide on how to use it.
SEE IT WORKING IN A COURSE
Want to see the progress tracker in action? Check out this LIVE DEMO I created in an Articulate Storyline course. It gives you a quick feel for how it works and how sleek it looks in a real project. Go ahead, take it for a spin!
HOW TO USE
-
Copy the Tracker Link:
Copy the following link to the Progress Tracker:
https://moayyadsaleh.github.io/smartwatch-style-progress-tracker/ -
Open Your E-Learning Authoring Tool:
Open your e-learning project in tools like Articulate Storyline, Adobe Captivate, or any other tool that supports embedding web objects. -
Insert a Web Object:
- In Articulate Storyline:
- Go to the Insert tab and select Web Object.
- Paste the Progress Tracker link: https://moayyadsaleh.github.io/smartwatch-style-progress-tracker/
- Click OK to insert the web object into your slide. - In Adobe Captivate:
- Go to the Media menu and select Web Object.
- Paste the Progress Tracker link.
- Click OK to insert the web object.
- In Articulate Storyline:
-
Position the Tracker:
Move and resize the web object on your slide to fit your design. Place it at the end of modules, tasks, lessons, or anywhere you want learners to track their progress. -
Add a Completion Button:
Create a button (name it something like "Finish" or "Complete Section") that learners can click to mark the section as complete. -
Add a JavaScript Trigger to the Button:
Attach the following JavaScript trigger to the button to communicate completion with the tracker. (This Trigger should be added as long as you want to trigger progress):sessionStorage.removeItem("progressUpdated"); var webObject = document.querySelector('iframe'); if (webObject && !sessionStorage.getItem("progressUpdated")) { webObject.contentWindow.postMessage("chapterCompleted", "*"); sessionStorage.setItem("progressUpdated", "true"); }Steps to Add the Trigger:
- In Articulate Storyline:
- Select the button you created (e.g., "Finish").
- Go to the Triggers Panel.
- Add a new trigger:
- Action: Execute JavaScript
- When: User clicks the button
- Script: Copy and paste the JavaScript code above.
- Click OK to save the trigger. - In Adobe Captivate:
- Select the button you created (e.g., "Finish").
- Open the Properties Panel.
- In the Actions tab, choose Execute JavaScript from the dropdown.
- Paste the JavaScript code into the script editor.
- Click OK to save the script.
- In Articulate Storyline:
-
Prevent Incrementing When the Button is Clicked Multiple Times:
To make sure the progress tracker doesn't increment each time the "Complete" button is clicked, add an additional trigger to the button. Set the action to "Change Status" and choose "Disabled" for the button state when the user clicks it. -
Progress is Automatically Saved:
The tracker automatically saves progress. In a self-paced course, create one progress page, embed the tracker, and copy that same page wherever needed. Learners will be able to see and update their progress throughout the course. -
Preview and Test:
- Preview your course to ensure the Progress Tracker works correctly.
- Click the button (e.g., "Finish") to trigger the completion.
- Verify that learners can mark tasks as Complete.
- Confirm that visual feedback, sound effects, and confetti animations trigger correctly.
For Testing Purposes -
Track Up to 5 Items by Default.
I know you’ve tried this before — you closed the course and came back, seeing your progress saved right where you left off, whether in the demo or your course. This ProgressTracker is designed to save data. To test it in your course or the live demo, copy the link, clear your browsing data, and try again. The same applies to your course: publish it, copy the link, clear your browsing data, and test it.
CONSIDER SUPPORTING MY WORK
Love ProgressTracker? Your support helps me keep creating useful tools for the instructional design community. A little goes a long way, and I truly appreciate it! A shout-out, a coffee, or a small donation keeps the creativity flowing and helps me build more tools to make your e-learning projects shine.
If ProgressTracker has made your workflow smoother or added value to your courses, consider showing your support. It means the world to me and motivates me to keep building and sharing even more helpful resources.